Seestar S50
Smart telescope (equatorial mode)
Specifications
- Brand
- ZWO
- Model
- Seestar S50
- Type
- Sistema de captura
- Aperture
- 50 mm
- Focal length
- 250 mm
- Focal ratio
- f/5
- Optics
- apochromatic triplet
- Sensor
- Sony IMX462
- Resolution
- 1920 × 1080
- Pixel size
- 2.9 µm
- Field of view (approx.)
- 1.3° × 0.7°
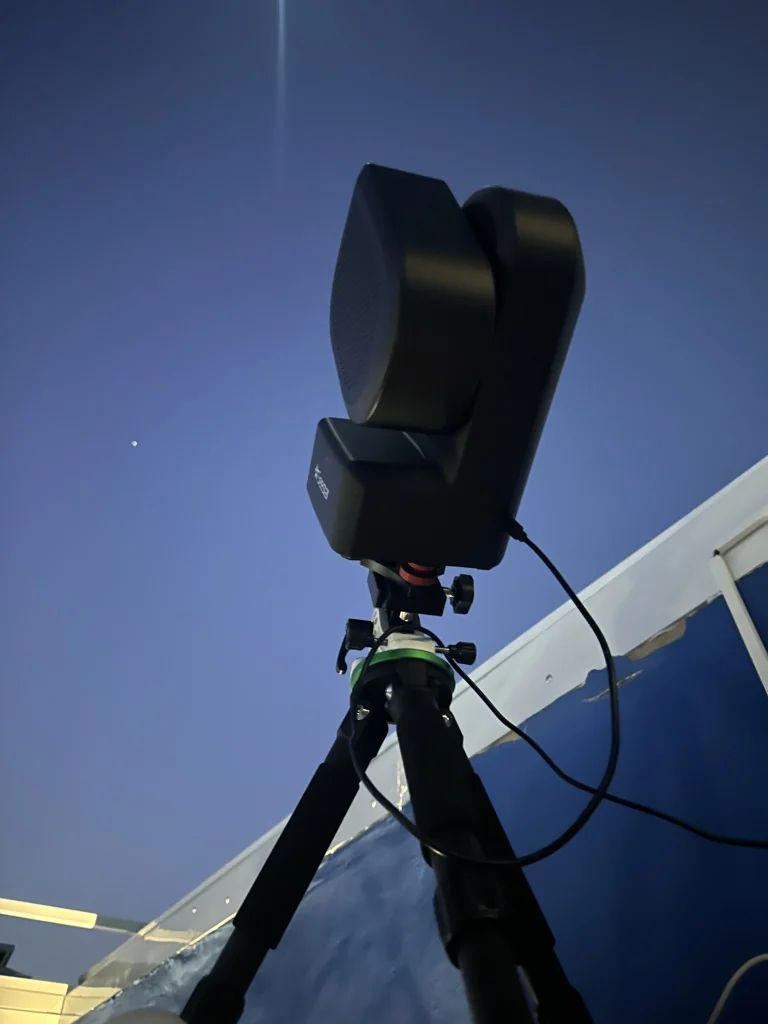
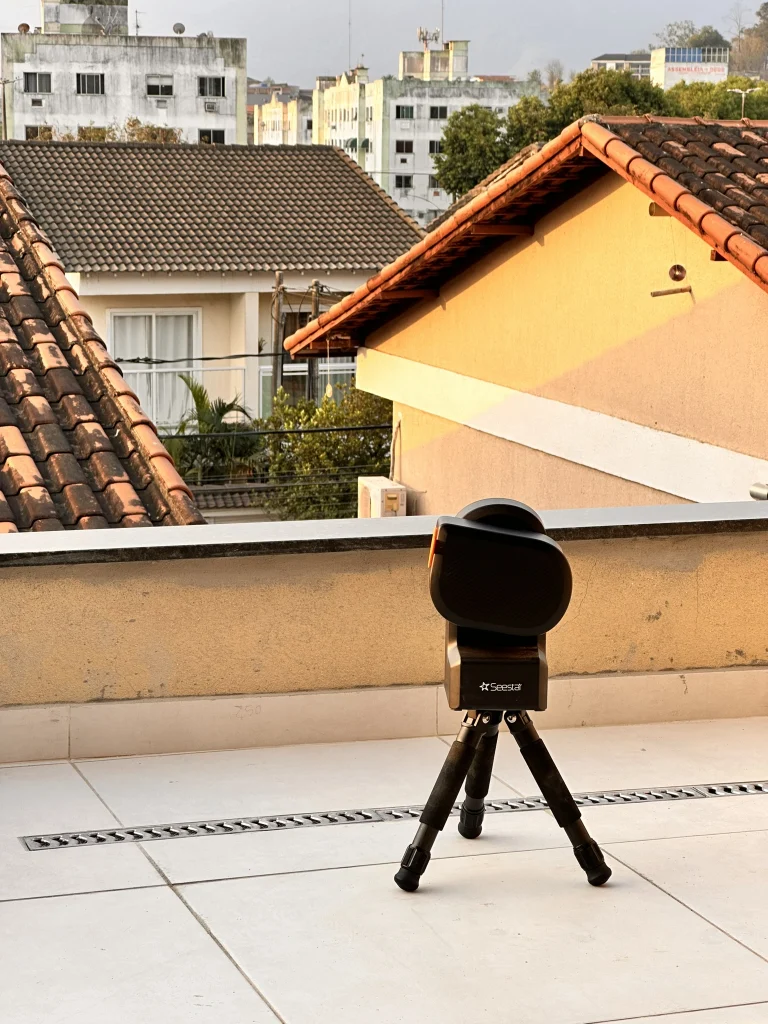
The Seestar S50 was the first smart (All-in-One) telescope released by ZWO, bringing together the motorized mount, the optics, the camera and the control system in a single device, all at a relatively affordable price compared with the main competitors on the market. When it was announced in 2023, the Seestar S50 sparked curiosity by promising something many people thought hard to achieve: making astrophotography accessible to beginners without sacrificing the quality of the results.
Until then, capturing deep-sky objects normally required a fairly complex setup made up of a telescope, an equatorial mount, an astronomy camera, a guiding system, a power supply and specialized software. The financial investment and the learning curve kept many interested people away.
The Seestar came along precisely to fill that gap, ushering in a generation of low-cost smart telescopes capable of automating practically the whole process.
I was lucky enough to receive a Seestar S50 as a gift from my wife in October 2023, just a few months after the device was released. That allowed me to follow its arrival on the market up close and to try out its capabilities from the first batches available in Brazil.
At the time, I was one of the first Brazilian astrophotographers to publish images captured with the Seestar on AstroImg, ZWO’s astrophotography social network. Since then, the device has been with me through hundreds of observing and imaging sessions, helping me become one of the most active Brazilian users on the platform.
Unlike many reviews published right after launch, my impressions were built over more than two years of continuous use, which lets me assess not only the product’s initial impact but also its strengths and limitations in everyday use.
Features
One of the Seestar S50’s great strengths is its fully automated mount and tracking system. The device uses a motorized altazimuth mount that can locate and follow celestial objects without any complex alignment procedures by the user. Once it is turned on, the telescope uses its internal sensors to work out its position and automatically recognizes the star field, identifying the visible stars and calibrating its pointing. From there, the system can accurately locate and track deep-sky objects throughout the whole imaging session.
Besides automated pointing, the Seestar S50 brings together several built-in features that significantly simplify the user experience. The whole device is controlled through an app available for Android and iOS, which lets you pick targets, follow the captures and adjust settings straight from your phone. The device also stacks images in real time, automatically processing each exposure to gradually reveal more detail in the objects being observed. Its features also include a built-in filter to reduce the effects of light pollution, internal storage for saving images and videos, and a built-in rechargeable battery that provides hours of operation without any external power source.
However, limiting the Seestar S50 to astrophotography alone would be unfair. Although it was designed mainly for observing and imaging deep-sky objects, the device offers different modes of use that greatly expand its versatility, making it an interesting tool for astronomical observation as well as for terrestrial and solar applications.
Solar Observation
Among the Seestar S50’s least talked-about but certainly most interesting features is its ability to do solar observation simply and safely. The device comes with a solar filter specially designed to block most of the radiation emitted by the Sun, allowing you to observe and record images safely.
Once the filter is installed, the Seestar can automatically locate the Sun and start tracking it, with no complicated manual adjustments. This convenience makes solar observation accessible even to people who have never used a telescope before, so that within a few minutes you are already capturing images of our star.
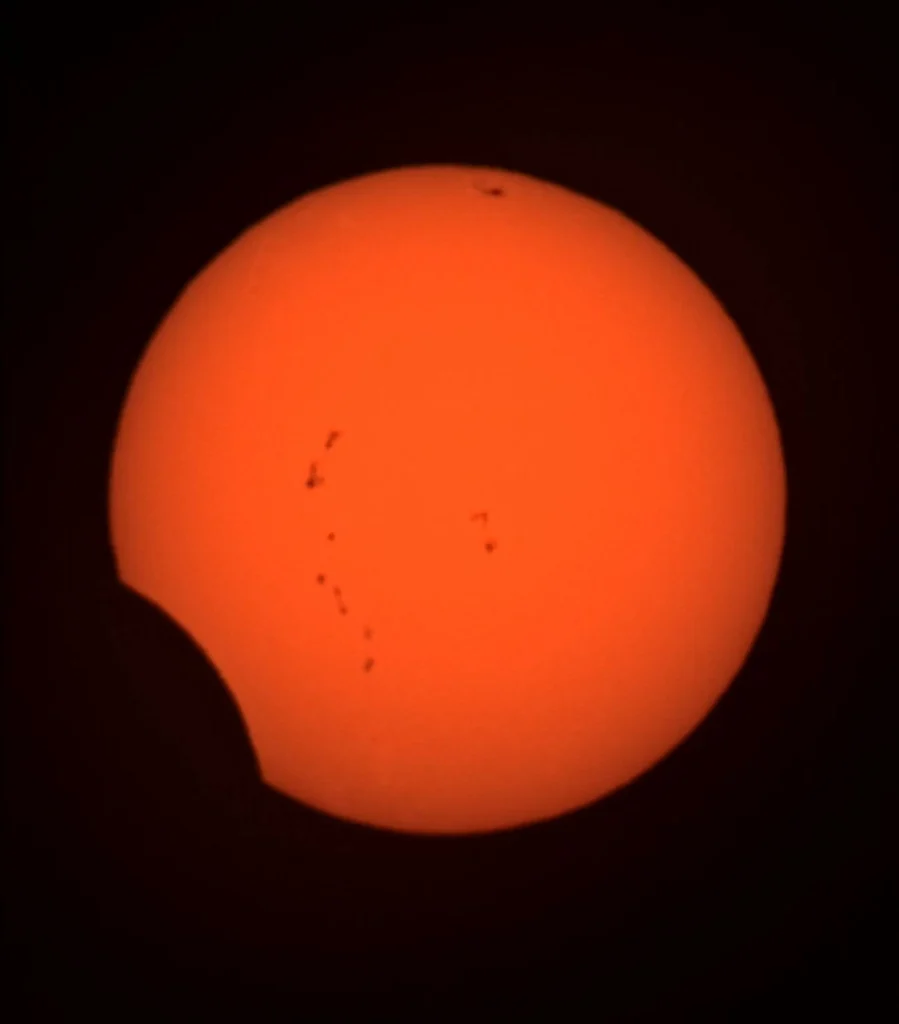
During periods of higher solar activity, you can easily record sunspots, active regions and the complex groups present in the photosphere. The app automatically captures and processes the images, letting you follow how these structures evolve over days and weeks. For anyone who likes to monitor the solar cycle, this feature is especially interesting, since it makes it possible to keep periodic records without specialized equipment.
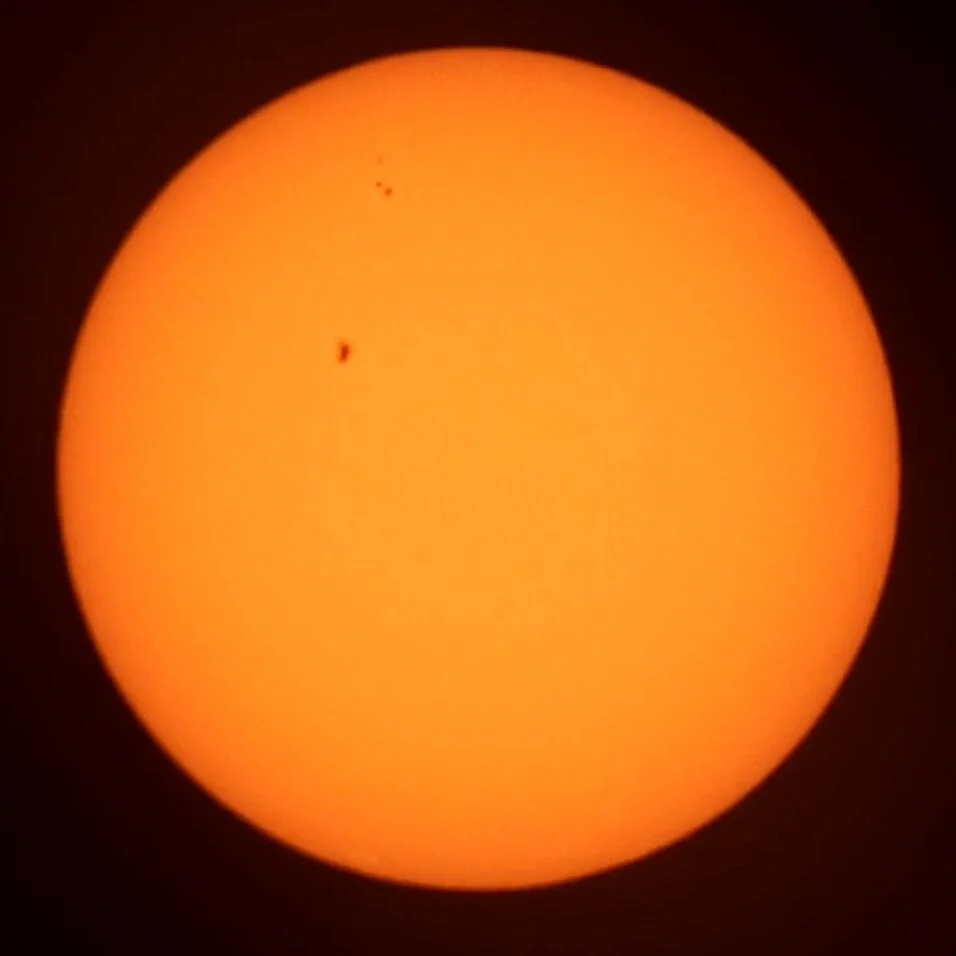
My own experience with the device began with observing the Sun. The first record I made with the Seestar S50 was a photograph of the solar surface, showing the sunspots visible at that time. In the same session, I also produced a video sequence showing clouds passing across the solar disk, something simple, but which demonstrated the device’s potential and ease of use within the very first minutes. It was a memorable experience, not only because it was my first hands-on contact with the Seestar, but also because it showed how such a compact device could produce interesting results with practically no setup or advanced knowledge.
Observing the Partial Solar Eclipse on October 2, 2024
The partial solar eclipse of October 2, 2024 ended up being an even more special experience because of the circumstances in which I observed it. At that time, my house was still going through a major renovation and I was working remotely. All day long I followed the weather forecast with some apprehension, while trying to concentrate on work amid the intense heat and the natural upheaval of a construction project under way.
The weather wasn’t cooperating either. The sky stayed heavily overcast for much of the day, feeding the feeling that I might not be able to observe the phenomenon. As often happens in astronomy, there wasn’t much to do except get the equipment ready, watch the clouds and hope for a gap at the right moment.
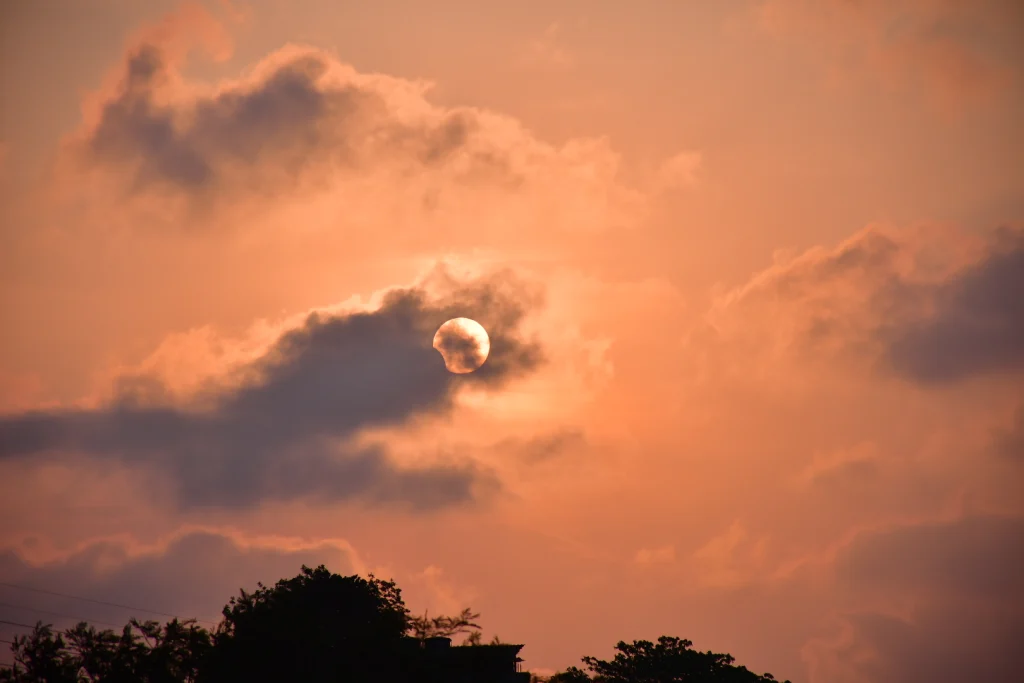
Fortunately, luck decided to lend a hand. Shortly before the observations were due to start, the clouds began to clear and the sky opened up just when I needed it most. It was one of those situations every amateur astronomer knows well: after hours of anticipation, the weather changes at the last moment and gives you the chance to observe an event that seemed lost.
With the Seestar S50 fitted with its solar filter, I was able to follow the eclipse with ease. The automatic tracking system kept the Sun perfectly centered throughout the observation, allowing me to concentrate solely on recording the phenomenon. Even though it was a partial eclipse of small magnitude as seen from Rio de Janeiro, it was fascinating to watch the Moon slowly advancing across the solar disk and to record every stage of the occultation.
Lunar Observation
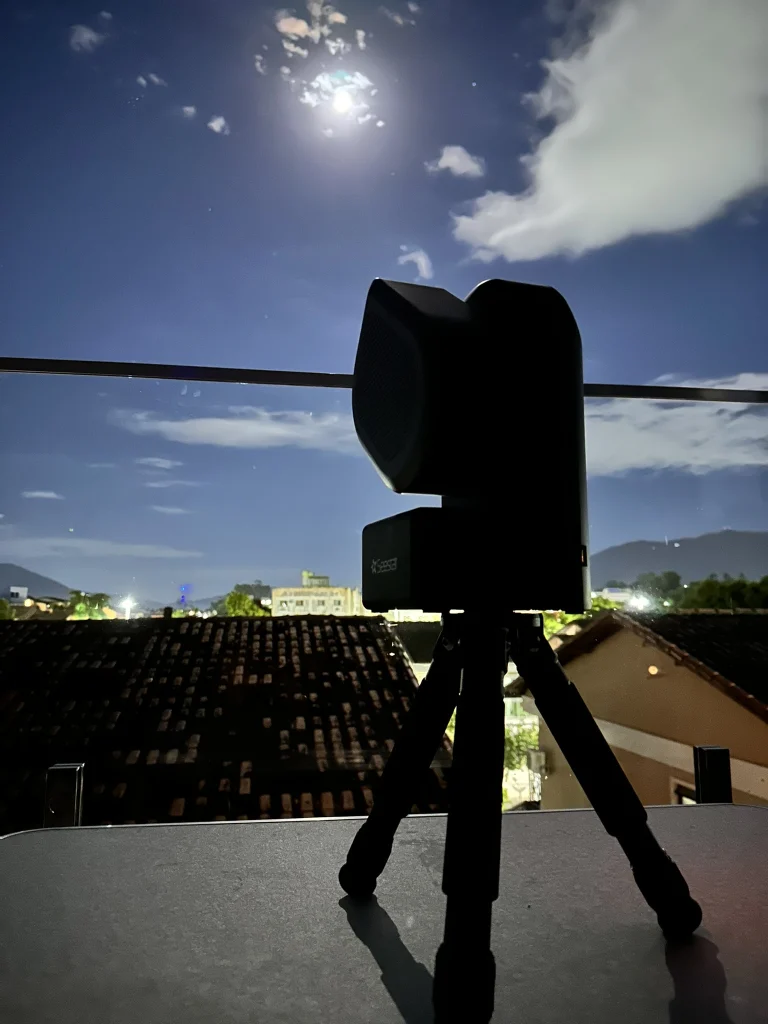
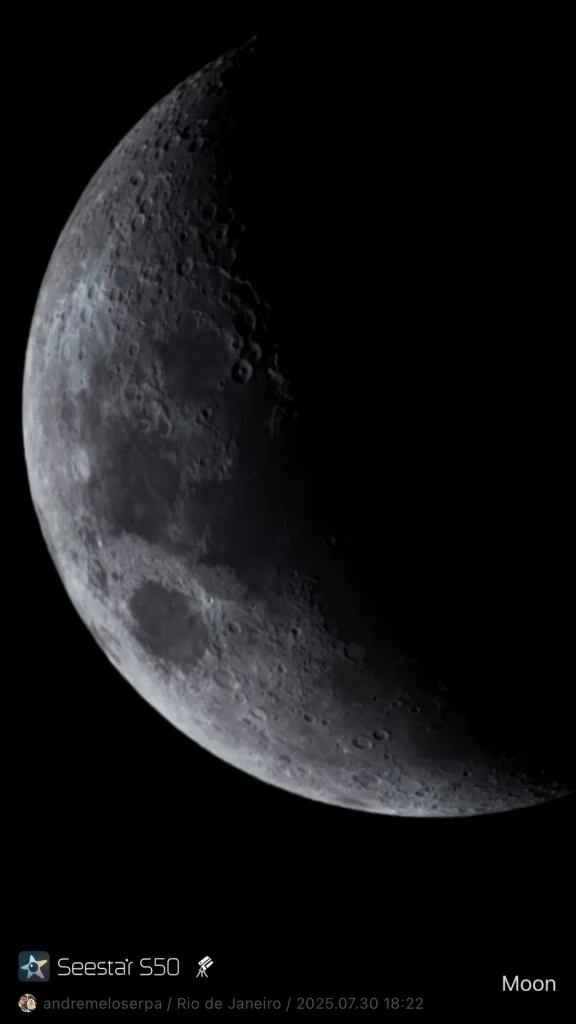
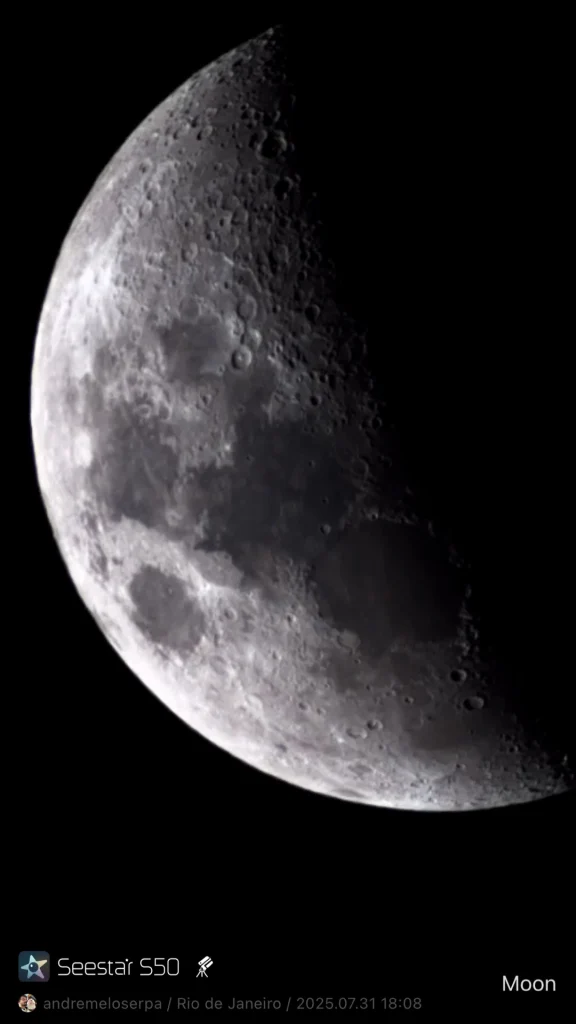
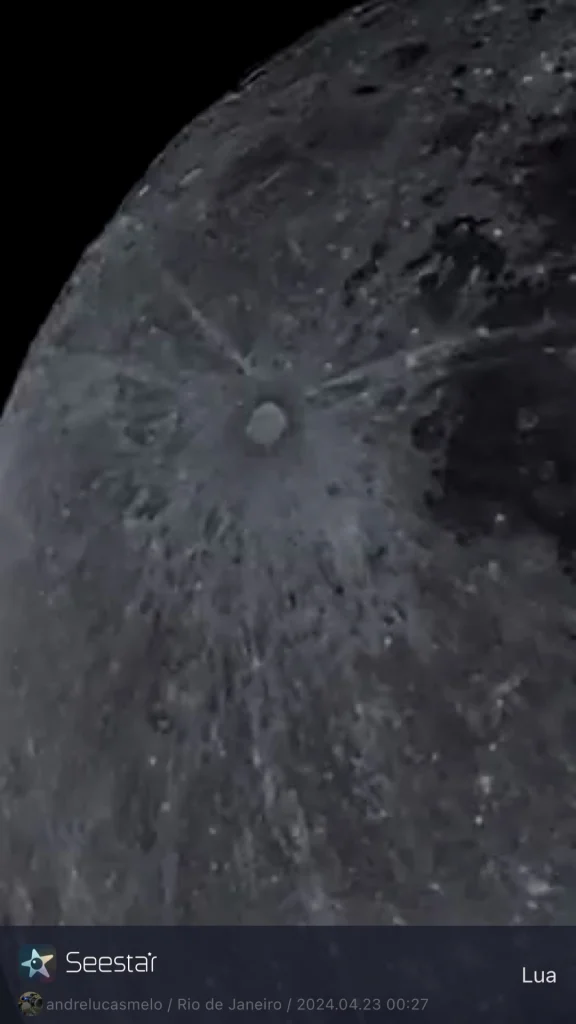
The Moon is probably the celestial object I observe most with the Seestar S50. Unlike nebulae and galaxies, which demand dark skies and long capture times, the Moon is almost always available and offers something new to see in every phase of the month. It’s one of those targets that never loses its charm, no matter how much experience you have in astronomy.
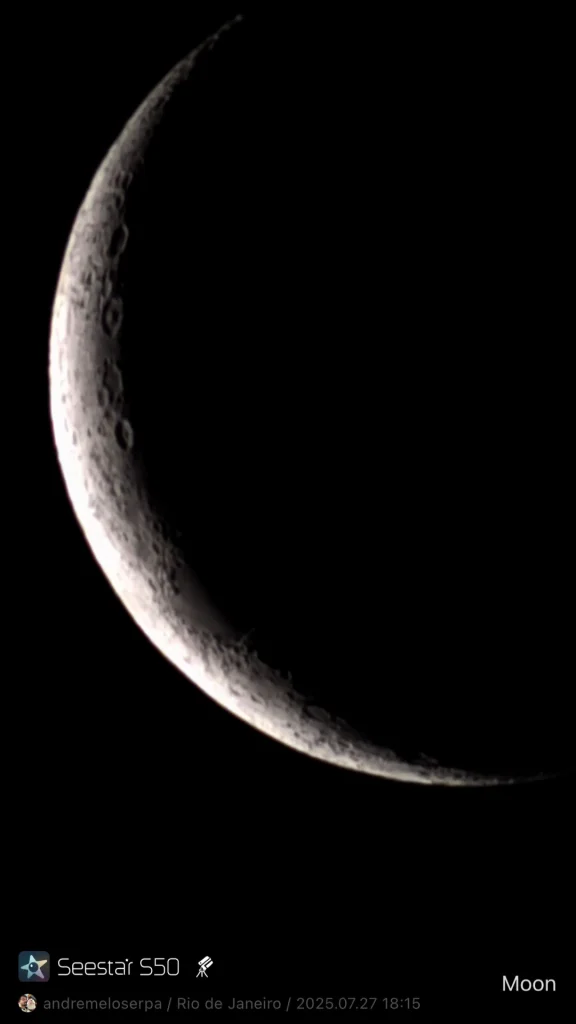
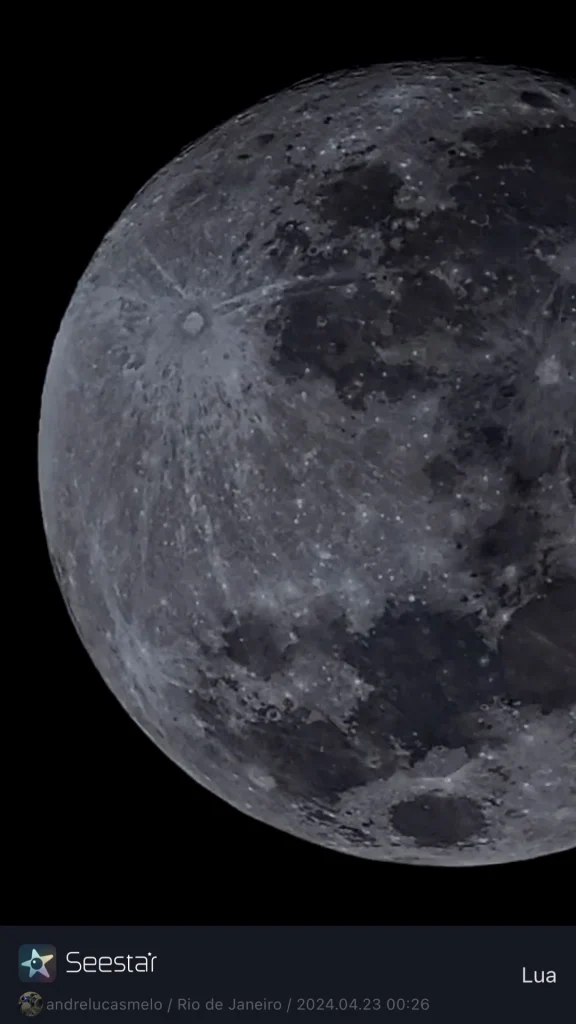
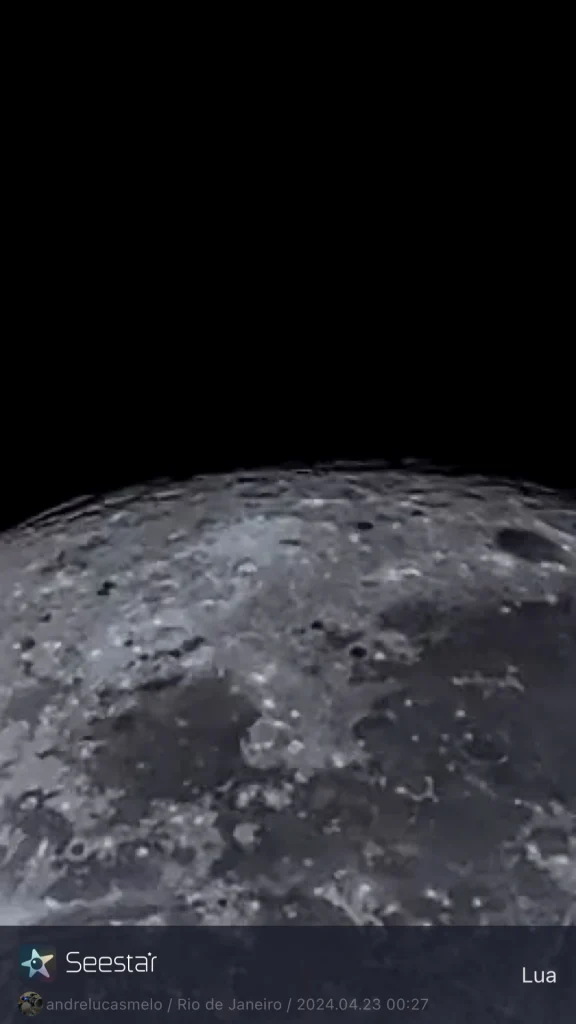
The Seestar proves quite capable at lunar photography. Its optics and built-in processing system make it easy to record craters, mountain ranges, valleys and the great lunar maria that make up some of the best-known landscapes on the surface. The experience is simple: you just select the Moon in the app and the device does all the pointing and tracking work automatically, keeping the target centered throughout the session.
Although many observers prefer the waxing and waning phases because of the greater contrast provided by the shadows, the Full Moon also holds excellent photographic opportunities. At that phase you can record the complete lunar disk in rich detail, highlighting the distribution of the maria, the ejecta rays around large craters and the differences in tone between various regions of the surface. These are images that tend to draw a lot of attention, especially from people taking their first steps in astronomy.
One of the most interesting activities the device offers is following the lunar phases over the course of the month. As the solar illumination changes, entire regions take on a completely different look. Craters that go unnoticed in one phase can become the stars of another, while shadows appear and disappear, revealing details that weren’t visible the night before. Over time, this continuous observation lets you develop a much greater familiarity with lunar geography.
Another aspect that makes the Moon such a pleasant target is its accessibility. Even in urban areas with heavy light pollution, it still offers observations and photographs of excellent quality. On nights when conditions don’t favor capturing deep-sky objects, or when there’s little time to observe, the Moon almost always guarantees a productive session.
Lunar Eclipse
Among the most memorable records I’ve made with the Seestar S50 is the lunar eclipse in the early morning hours of March 14, 2025. Unlike many observations that can be done in the comfort of early evening, this was one of those events that demand dedication from the amateur astronomer. The alarm went off in the middle of the night, when most of the city was asleep and silence filled the streets.
Despite the tiredness, there was a sense of anticipation that’s hard to describe. After all, total lunar eclipses don’t happen all that often, and each one has its own characteristics. The cold of the early morning made the experience even more special. As I set up the equipment and followed the Earth’s shadow advancing across the Moon, the cold air was a reminder that I was living one of those moments for which it’s worth losing a few hours of sleep.
The Seestar S50 made the observation much easier. After locating the Moon, the device kept tracking automatically throughout the whole session, allowing me to concentrate on following the different phases of the eclipse and recording images without having to make constant adjustments.
As the Earth’s shadow advanced, the Moon gradually lost its usual brightness. The most impressive moment came during totality, when our satellite took on the characteristic reddish tones that gave rise to the popular nickname “Blood Moon”. Watching this transformation happen live is an experience that no photograph can fully reproduce.
Planetary Imaging
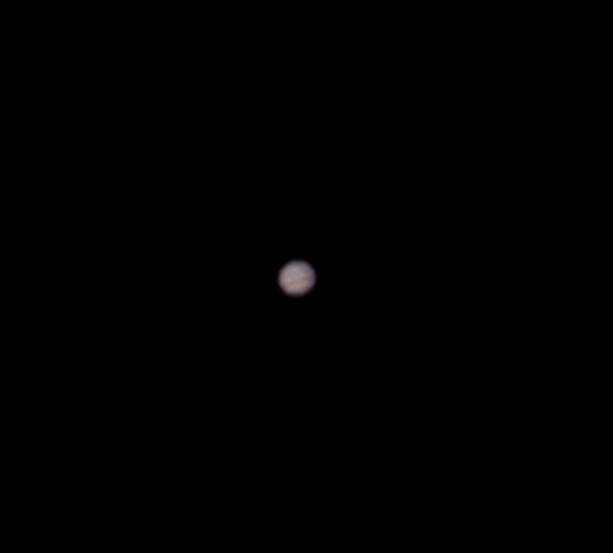
Although the Seestar S50 is often associated with photographing nebulae, galaxies and other deep-sky objects, it also lets you observe and record the main planets of the Solar System. Jupiter, Saturn, Mars and Venus can easily be located through the app, taking advantage of all the convenience of the automatic pointing and tracking system that made the device so popular.
Still, it’s important to understand that planetary photography is not exactly the Seestar’s strong suit. Its 250 mm focal length optics were designed to offer a relatively wide field of view, favoring extended deep-sky objects. Planets, on the other hand, occupy very small areas on the sensor and normally require significantly longer focal lengths to reveal finer detail.
That doesn’t mean the results are bad. It’s perfectly possible to record Saturn’s rings, identify Jupiter’s Galilean moons and even make out some of the main features of these worlds. For many users, especially those just starting out in astronomy, the thrill of photographing a planet for the first time makes up for any technical limitation.
In Jupiter’s case, for example, you can record its disk and the four brightest Galilean moons — Io, Europa, Ganymede and Callisto. Saturn can also be easily identified by its characteristic ring system, while Mars reveals its reddish color during the periods of closest approach to Earth.
However, when compared with the equipment traditionally used for planetary photography, the Seestar runs into some natural limitations. Telescopes with longer focal lengths, combined with dedicated cameras and advanced video stacking techniques, can reveal details such as the divisions in Saturn’s rings, finer atmospheric bands on Jupiter, polar caps on Mars and many other features that are beyond what this device is meant to do.
In practice, I tend to see planetary photography on the Seestar as an interesting bonus. It can record the planets and deliver images that will certainly please most observers, but anyone who wants to specialize in this kind of imaging will probably find better results with equipment developed specifically for that purpose.
Deep-Sky Captures
The deep sky is where the Seestar S50 really shows what it’s made of. Since its launch, the vast majority of the images that made the device popular have been of nebulae, galaxies and star clusters. Objects that once required a fairly complex combination of telescope, motorized mount, astronomy camera and specialized software became accessible with a few taps on a phone screen.
The principle of operation is quite simple. After locating an object, the Seestar starts a continuous sequence of exposures and automatically stacks the images. With each new frame captured, more signal is accumulated, reducing noise and revealing details that were not visible at first. That’s why a nebula observed for just a few minutes shows less structure and less color than the same nebula captured over an hour or two.
Integration time is one of the most important factors in deep-sky astrophotography. In short captures, of five to ten minutes, you can already get quite pleasing images of bright objects such as the Orion Nebula or the Pleiades cluster. As the total exposure time increases, fainter structures begin to appear, along with darker regions of interstellar dust and color nuances that simply don’t show up in shorter integrations.
It’s not unusual for an object captured over thirty minutes to look completely different after two or three hours of integration. Galaxies reveal more defined spiral arms, nebulae show more distant extensions of gas, and fainter objects gradually become visible. In astrophotography, the difference between an ordinary image and an impressive one often comes down simply to the time devoted to the capture.
An interesting aspect of the Seestar is that it can operate in both altazimuth and equatorial modes. In altazimuth mode, which is the default mode used by most users, the device moves on the altitude and azimuth axes to follow the apparent motion of the sky. This setup is extremely practical and lets you start a session within minutes. However, there is a physical limitation known as field rotation.
As the device follows an object through the night, the orientation of the star field slowly changes relative to the sensor. The software corrects for this effect automatically during stacking, but part of the image edges ends up being discarded to compensate for the rotation. For most captures this isn’t a significant problem, especially in shorter sessions.
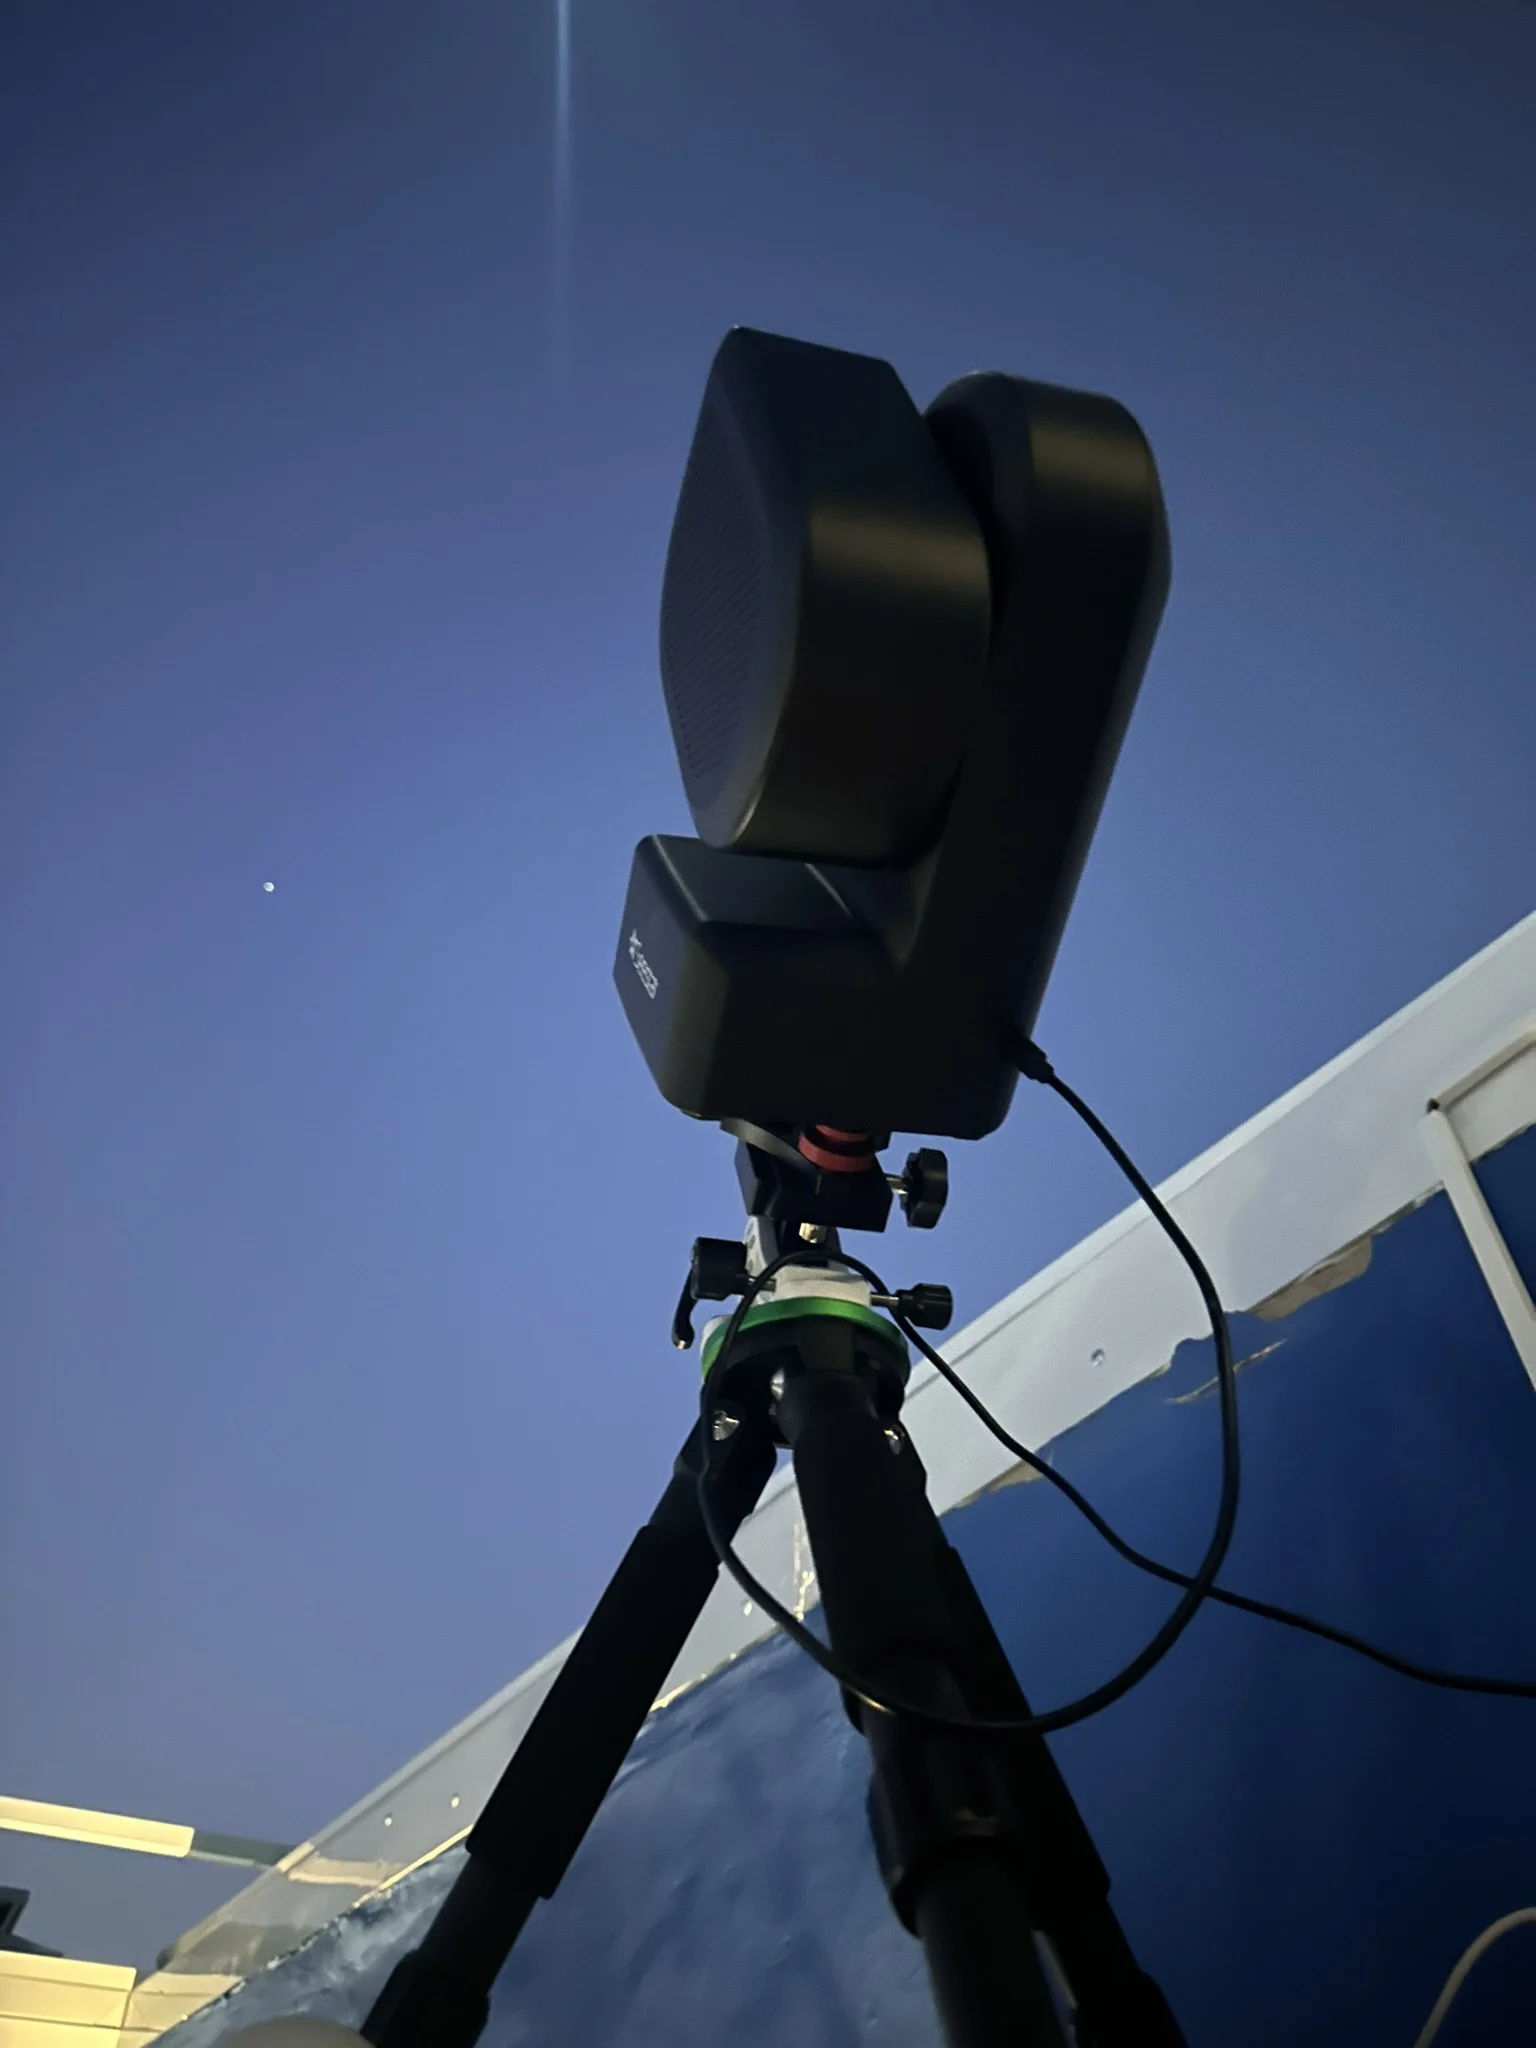
With the introduction of equatorial mode, the Seestar gained an important upgrade for astrophotography. Using a tilt calculated according to the observer’s latitude, the device follows the motion of the sky in a way similar to traditional equatorial mounts. As a result, field rotation is practically eliminated, making it possible to make better use of the sensor and carry out longer integrations more efficiently.
In practice, this means that multi-hour captures become more productive. Less information is lost at the edges of the image, the framing stays more stable and the final quality of the stack tends to improve. For fainter objects, where every extra minute of integration makes a difference, equatorial mode can mean a noticeable gain in results.
Alt-Az vs. EQ Capture Differences
One of the most interesting new features that arrived on the Seestar S50 after launch was Equatorial (EQ) mode. Although Alt-Az mode remains the most practical way to use the device, being able to operate in EQ mode brought some advantages for those who like to squeeze the most out of their deep-sky captures.
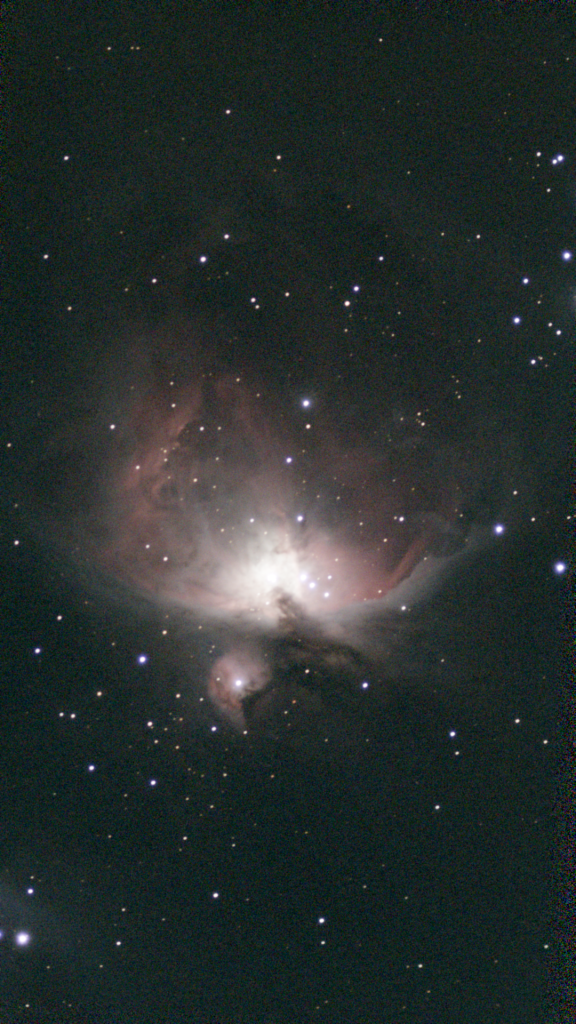
In Alt-Az mode, which is how most users run the Seestar, the device tracks objects by moving up, down and sideways, compensating for the apparent motion of the sky. It works very well, and it’s precisely this simplicity that made the device so popular. However, during longer captures a phenomenon called field rotation occurs. In practice, even with the object staying centered, the stars around it appear to slowly rotate within the frame. The software corrects this automatically during stacking, but ends up discarding small areas at the edges of the image.
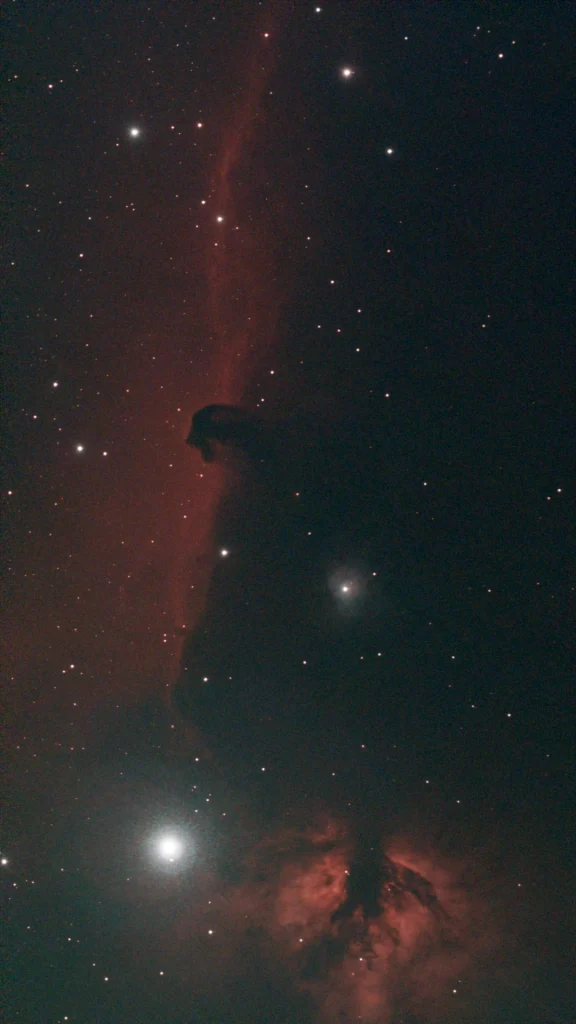
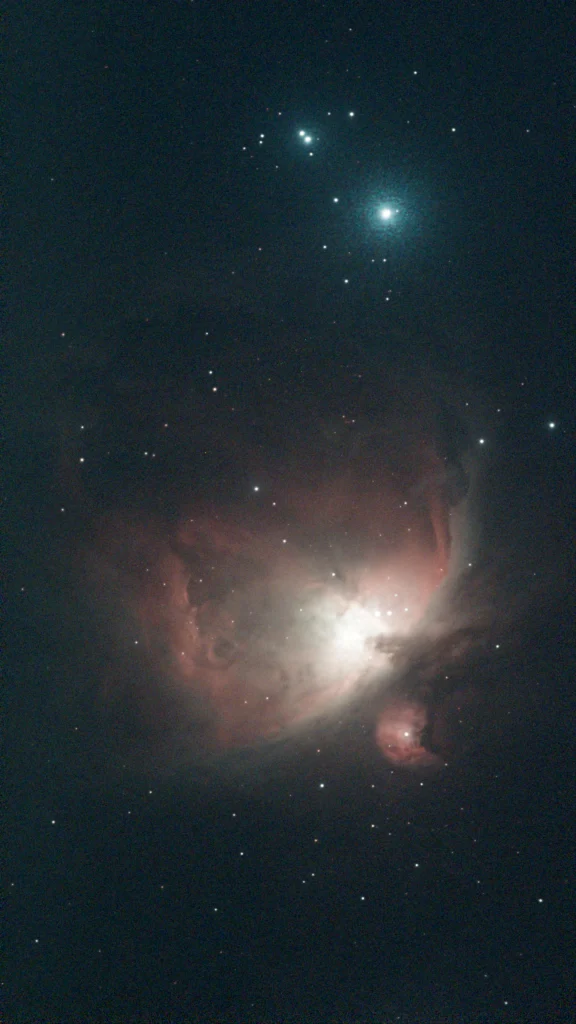
With Equatorial mode, the behavior changes. By tilting the device according to the latitude of the observing site, tracking follows the motion of the sky in a much more natural way, drastically reducing field rotation. The result is more stable framing throughout the session and better use of the image’s usable area.
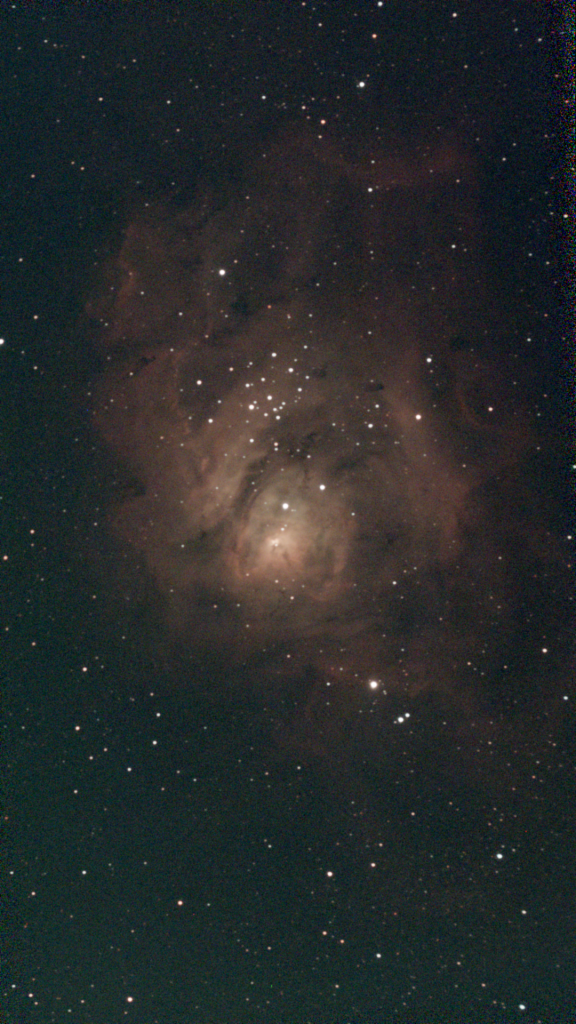
Another difference that has a big impact on the results is the exposure time of the frames. In Alt-Az mode, individual images are normally captured with 10-second exposures. In EQ mode, on the other hand, this time can go up to 30 seconds per frame. It may seem like a small change, but in practice each exposure now records three times more light. This helps especially when capturing fainter nebulae and subtler details in galaxies, giving the final stack more information to work with.
For those just starting out, Alt-Az mode remains the simplest and most convenient option. For those who like to spend hours accumulating signal on a single object, EQ mode is an interesting gain and shows that the Seestar still has plenty of potential to evolve beyond its original promise of simplicity and convenience.
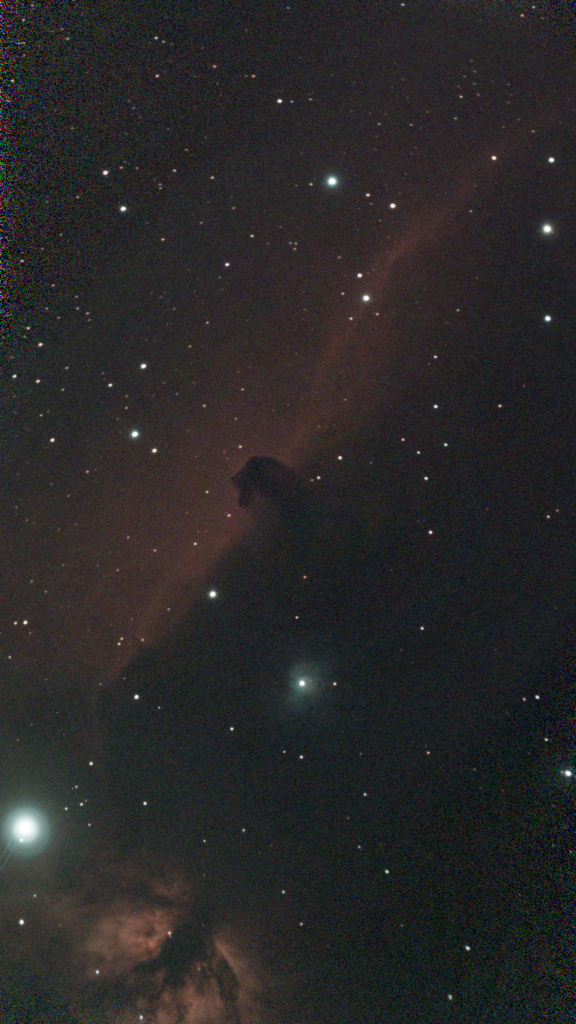
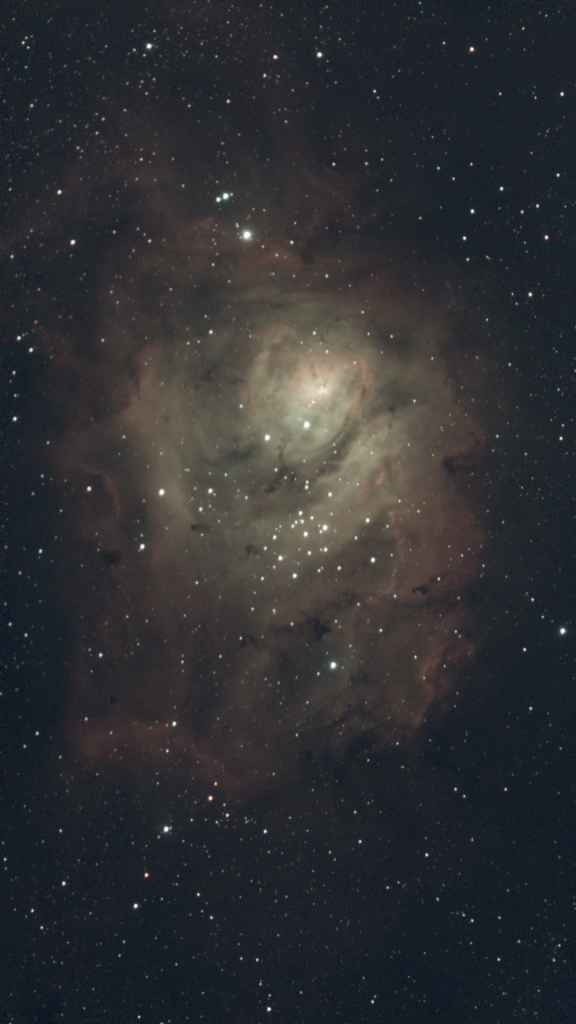
The images below are comparisons of the same object, as they were stacked by the Seestar S50, without any cosmetic work or additional correction done in other software.
Capabilities and possibilities
- Deep sky: nebulae, galaxies and clusters, with real-time stacking and 10 s frames in Alt-Az mode or up to 30 s in EQ mode.
- Field of view: about 1.3° × 0.7° (Sony IMX462 sensor and 250 mm focal length), suited to objects up to about 1°.
- Sun: with the solar filter that comes with the device, sunspots, active regions and solar eclipses, with automatic tracking.
- Moon: all phases, craters, maria and lunar eclipses, even under the city’s light pollution.
- Planets: Jupiter with the Galilean moons, Saturn, Mars and Venus, as a bonus, within the limits of the 250 mm focal length.
At the Astronomia no Telhado Observatory
Here the Seestar S50 works in equatorial (EQ) mode, which allows frames of up to 30 seconds. The sections below bring together the field-of-view simulator, the results processed in AstroFITS v2, the ongoing projects, the captured objects, the recent captures and the finished images.
Results and processing
Results processed in AstroFITS v2 will be published here.
Ongoing projects
No ongoing project with this equipment at the moment.